Fl Studio

FL Studio

Free Trial Features:

Installation Guide:

Introduction:

Unlocking FL Studio is a crucial step for accessing its full range of features. In this tutorial, we’ll walk you through the process of unlocking FL Studio quickly and easily using a computer with internet access.

Step 1: FL Studio Download

  • Open your browser and navigate to flstudio.app.
  • Click on the “Try for Free” or “Download” button to download the latest version of FL Studio.

Step 2: Install FL Studio

After downloading, install the latest version of FL Studio on your computer.

Step 3: Open FL Studio

Once installed, open FL Studio on your computer.

Step 4: Access Unlock Options

  • Click on the “Help” menu in FL Studio.
  • Then, select “Unlock FL Studio.”

Step 5: Enter Login Credentials

  • Enter the login credentials for your Image-Line account.
  • If you purchased a boxed copy and don’t have an Image-Line account yet, click on “Redeem Code” instead.
  • Enter the code found in your box and set up an Image-Line account.

Step 6: Verify with Two-Step Verification

  • Upon successful login, you’ll be prompted to enter a two-step verification code from an email.
  • Open the email address associated with your FL Studio purchase.
  • Copy the verification code from the email and paste it into the unlock FL Studio window.

Step 7: Confirm License Installation

  • After FL Studio verifies the code, it will confirm that the license was installed successfully.
  • You’ll be prompted to restart FL Studio.

Step 8: License Confirmation

Upon restarting FL Studio, your license information will be displayed at the bottom of the screen and in the unlock FL Studio panel.

Conclusion:

Unlocking FL Studio is a straightforward process that allows you to access all the features and functionalities of the software. By following these simple steps, you can quickly unlock FL Studio and start creating music with confidence.

Unlock your FL Studio today and unleash your creativity!

Or Buy FL Studio Today and Secure Free Lifetime Updates

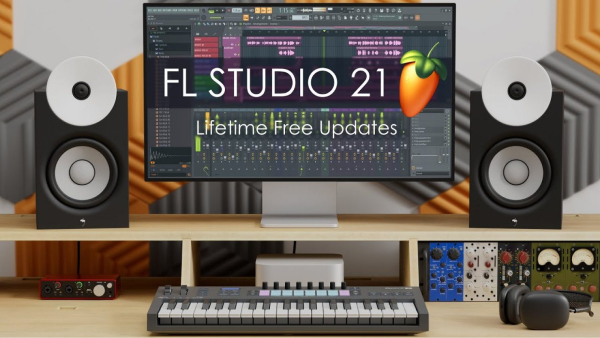
FL Studio stands out from other DAWs – once you choose any of our editions, you get free upgrades for life, without any additional costs, ever. Plus, if you decide to upgrade to a higher edition later, you only pay the difference. No surprises, no hidden fees, just endless creativity.

The Ultimate Guide to FL Studio: Complete Beginner Basics Tutorial

Step 1: Understanding the Interface

FL Studio’s interface may seem daunting at first, but it’s actually quite intuitive once you get the hang of it. There are five main buttons that you’ll frequently use to navigate the software:

  • Playlist
  • Piano Roll
  • Channel Rack
  • Mixer
  • Browser

Step 2: Importing Sounds

Before you can start creating music in FL Studio, you’ll need to import sounds into the software. Here’s how:

  1. Go to Options > File Settings and add your sound folder to the extra search folders.
  2. Refresh your browser to see the newly added sound folder.
  3. Drag and drop sounds from the browser into FL Studio.

Step 3: Making Beats

Now that you have your sounds imported, it’s time to start making beats in FL Studio:

  1. Open the Channel Rack and load drum sounds.
  2. Use the Piano Roll to create melodies and patterns.
  3. Arrange your patterns in the Playlist.

Step 4: Recording Audio

If you want to record vocals or other audio into FL Studio, follow these steps:

  1. Set up your audio device in Options > Audio Settings.
  2. Select a mixer track and arm it for recording.
  3. Record your audio into the Playlist.

Step 5: Mixing and Exporting

Once you’ve created your music, it’s time to mix and export it:

  1. Add effects and adjust levels in the Mixer.
  2. Arrange your song in the Playlist.
  3. Export your song as a WAV or MP3 file.